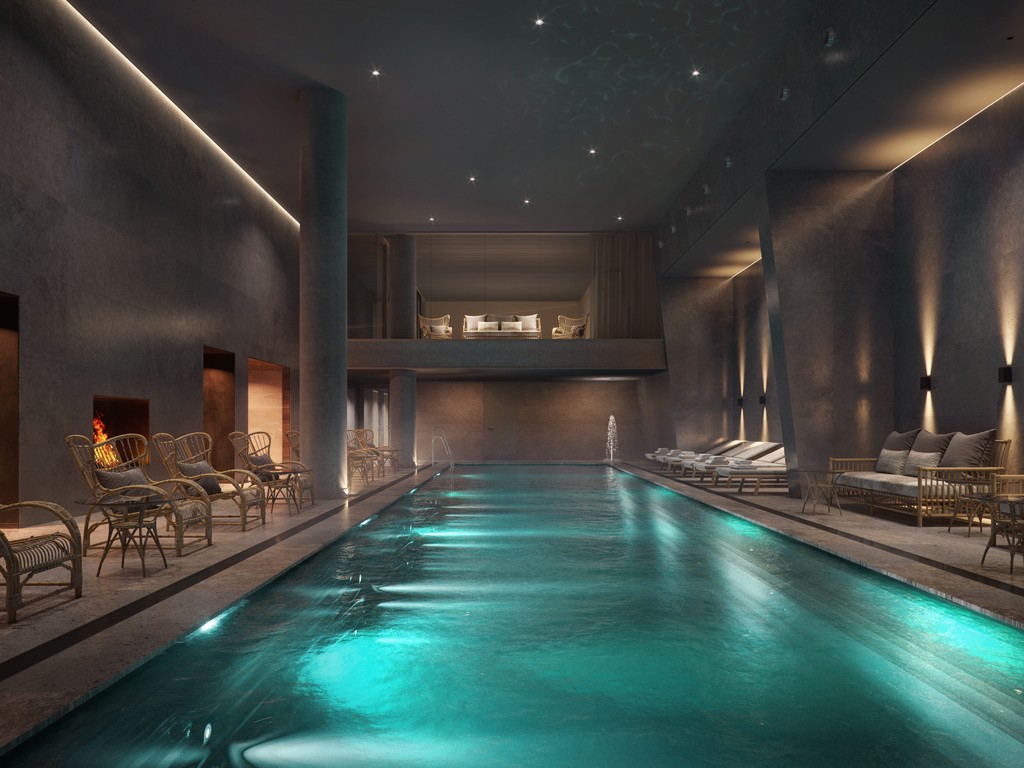
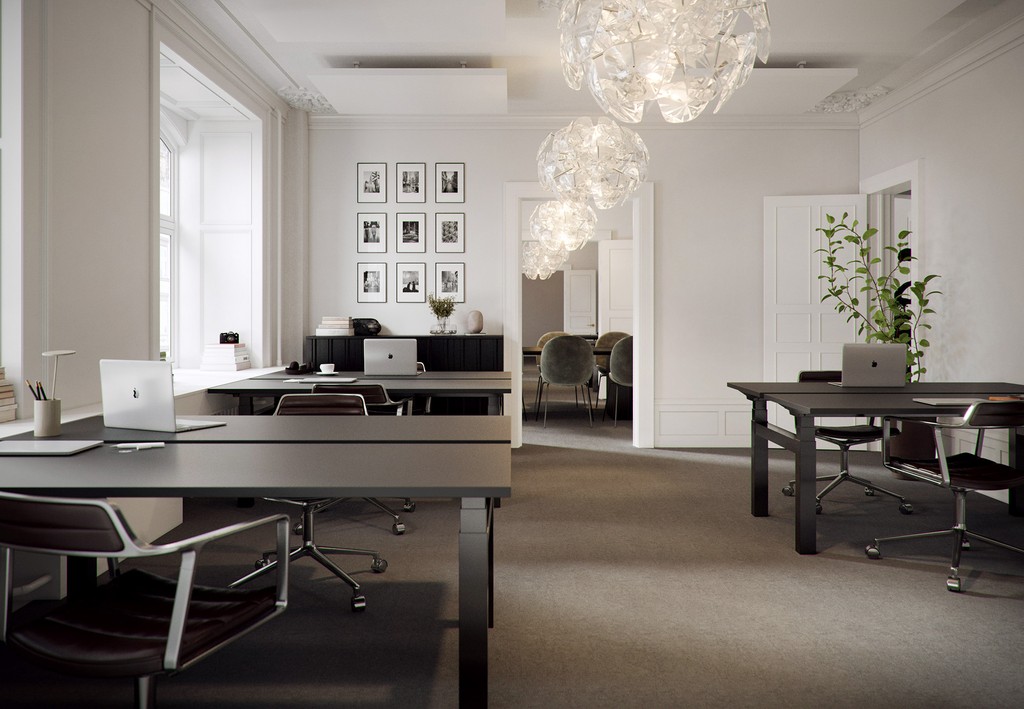
Masterplan Visualization
Category:
TIPS
June 3, 2024


Creating a masterplan visualization involves several key steps that bring a complex vision to life. A masterplan visualization is not only well-conceived but also needs to be clearly communicated.
The process

The client provided the master plan in CAD formats from architects, along with site photos, initial concept images, preferred angle and brief. These materials guided our designers on where to focus.

Design Briefs
Our team analyzed the drawings and site photos to assess dimensions, masses, measurements, and site layout integration with the surrounding landscape for an accurate design representation.

Modeling
While waiting for material specs, plant lists, and site details, our designers began 3D modeling the master plan, main building, and surrounding structures using CAD files and photos. We also adjusted camera angles and lighting to propose the best perspective for the client.

Clay Render
Our designers initiated the process with a clay test render, incorporating real lighting and excluded site details and vegetation to provide a clear view and spot any potential issues. Additionally, we established camera angles based on the client's brief to ensure alignment with their specifications.

Texturing and Details
We incorporated client preferences for materials, textures, colors, and lighting into the renderings, which was crucial for creating accurate and personalized 3D visuals. This approach enhanced visual appeal, improved communication, and provided a clearer depiction of ideas.

Vegetation and Landscape
The landscape architect provided detailed lists of vegetation, softscapes, and hardscapes. We integrated these into the 3D model, ensuring the visualizations accurately reflected the design and enhanced realism. This collaboration was crucial for a clear and compelling representation of the landscape design.

Site Detail
Our designers implemented the landscape by referring to the provided information from the landscape architect to locate each and every softscapes and hardscapes onto the site. This stage gave us and the client more clarity on the aesthetic of the project.

Revision
During the revision process, we carefully adjusted textures and lighting to perfect the design. We offered three rounds of revisions, incorporating detailed client feedback to ensure the final result exceeded expectations.

Post Production
Once final image processing began, post-production refined the results with color correction. Ensuring the 3D model matched architectural plans and real-world dimensions was crucial, and realistic lighting and materials were carefully simulated for accuracy.


Creating a masterplan visualization involves several key steps that bring a complex vision to life. A masterplan visualization is not only well-conceived but also needs to be clearly communicated.
The process

The client provided the master plan in CAD formats from architects, along with site photos, initial concept images, preferred angle and brief. These materials guided our designers on where to focus.

Design Briefs
Our team analyzed the drawings and site photos to assess dimensions, masses, measurements, and site layout integration with the surrounding landscape for an accurate design representation.

Modeling
While waiting for material specs, plant lists, and site details, our designers began 3D modeling the master plan, main building, and surrounding structures using CAD files and photos. We also adjusted camera angles and lighting to propose the best perspective for the client.

Clay Render
Our designers initiated the process with a clay test render, incorporating real lighting and excluded site details and vegetation to provide a clear view and spot any potential issues. Additionally, we established camera angles based on the client's brief to ensure alignment with their specifications.

Texturing and Details
We incorporated client preferences for materials, textures, colors, and lighting into the renderings, which was crucial for creating accurate and personalized 3D visuals. This approach enhanced visual appeal, improved communication, and provided a clearer depiction of ideas.

Vegetation and Landscape
The landscape architect provided detailed lists of vegetation, softscapes, and hardscapes. We integrated these into the 3D model, ensuring the visualizations accurately reflected the design and enhanced realism. This collaboration was crucial for a clear and compelling representation of the landscape design.

Site Detail
Our designers implemented the landscape by referring to the provided information from the landscape architect to locate each and every softscapes and hardscapes onto the site. This stage gave us and the client more clarity on the aesthetic of the project.

Revision
During the revision process, we carefully adjusted textures and lighting to perfect the design. We offered three rounds of revisions, incorporating detailed client feedback to ensure the final result exceeded expectations.

Post Production
Once final image processing began, post-production refined the results with color correction. Ensuring the 3D model matched architectural plans and real-world dimensions was crucial, and realistic lighting and materials were carefully simulated for accuracy.


Creating a masterplan visualization involves several key steps that bring a complex vision to life. A masterplan visualization is not only well-conceived but also needs to be clearly communicated.
The process

The client provided the master plan in CAD formats from architects, along with site photos, initial concept images, preferred angle and brief. These materials guided our designers on where to focus.

Design Briefs
Our team analyzed the drawings and site photos to assess dimensions, masses, measurements, and site layout integration with the surrounding landscape for an accurate design representation.

Modeling
While waiting for material specs, plant lists, and site details, our designers began 3D modeling the master plan, main building, and surrounding structures using CAD files and photos. We also adjusted camera angles and lighting to propose the best perspective for the client.

Clay Render
Our designers initiated the process with a clay test render, incorporating real lighting and excluded site details and vegetation to provide a clear view and spot any potential issues. Additionally, we established camera angles based on the client's brief to ensure alignment with their specifications.

Texturing and Details
We incorporated client preferences for materials, textures, colors, and lighting into the renderings, which was crucial for creating accurate and personalized 3D visuals. This approach enhanced visual appeal, improved communication, and provided a clearer depiction of ideas.

Vegetation and Landscape
The landscape architect provided detailed lists of vegetation, softscapes, and hardscapes. We integrated these into the 3D model, ensuring the visualizations accurately reflected the design and enhanced realism. This collaboration was crucial for a clear and compelling representation of the landscape design.

Site Detail
Our designers implemented the landscape by referring to the provided information from the landscape architect to locate each and every softscapes and hardscapes onto the site. This stage gave us and the client more clarity on the aesthetic of the project.

Revision
During the revision process, we carefully adjusted textures and lighting to perfect the design. We offered three rounds of revisions, incorporating detailed client feedback to ensure the final result exceeded expectations.

Post Production
Once final image processing began, post-production refined the results with color correction. Ensuring the 3D model matched architectural plans and real-world dimensions was crucial, and realistic lighting and materials were carefully simulated for accuracy.


